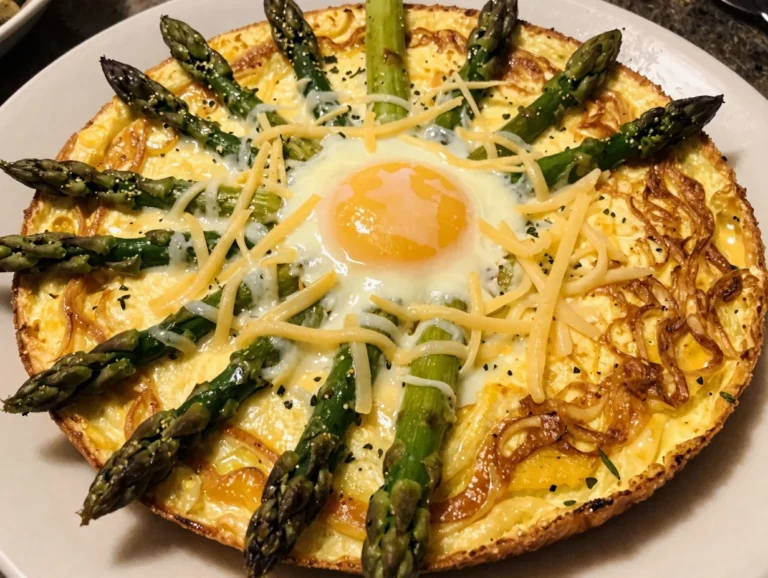
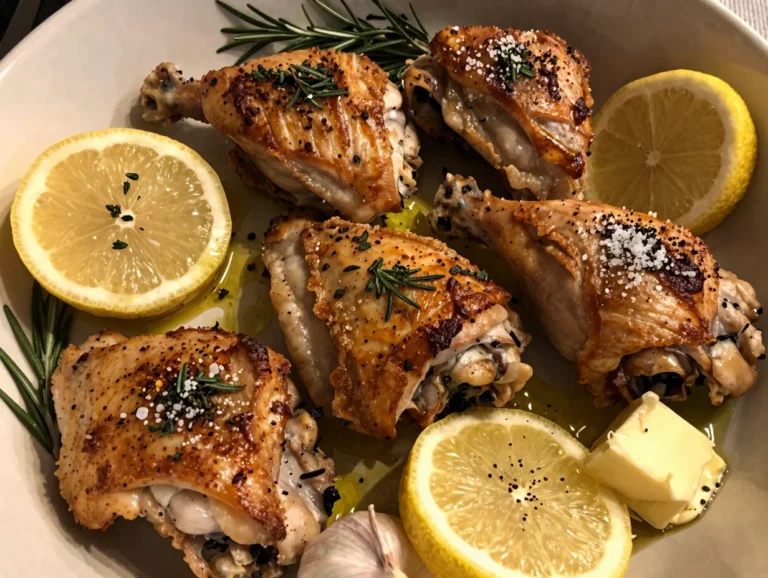
One Pan Chicken Tikka
Welcome to our kitchen corner! My sister Luna and I often find ourselves craving the deep, aromatic spices of traditional Indian cuisine. However, as busy home cooks, we also dread the pile of dishes that usually follows a complex meal.
That is exactly how our signature One Pan Chicken Tikka recipe was born. Luna and I spent a rainy Sunday afternoon in our US kitchen trying to simplify the classic flavors we love. We wanted to capture that smoky, charred essence of a tandoor oven without needing any special equipment.
After several attempts and a lot of taste-testing, we perfected this One Pan Chicken Tikka. It delivers all the bold, zesty notes you expect while keeping your cleanup to a absolute minimum. When you smell the cumin and coriander wafting through your home, you will understand why this dish is a staple at Casserolet.com.
We believe that food is love, and this One Pan Chicken Tikka is our love letter to everyone who wants a gourmet meal on a weeknight. You do not need a culinary degree to master this One Pan Chicken Tikka. You just need a single pan and a passion for flavor. Let us dive into the magic of this One Pan Chicken Tikka together.
Why You Will Love This One Pan Chicken Tikka
You will absolutely adore this One Pan Chicken Tikka because it balances convenience with high-end flavor. Most people think they need a clay oven to achieve that authentic taste. However, this One Pan Chicken Tikka proves that a standard home oven or a large skillet works perfectly.
First, the cleanup is incredibly fast since everything happens in one place. Second, the marinade creates a tender, juicy texture that resists drying out. Third, this One Pan Chicken Tikka fits perfectly into a healthy lifestyle.
We use fresh ingredients and lean protein to ensure you feel nourished after every bite. Additionally, the vibrant colors of the turmeric and paprika make this One Pan Chicken Tikka a visual masterpiece. Your family will think you spent hours in the kitchen.
In reality, this One Pan Chicken Tikka comes together with very little active effort. Furthermore, the leftovers taste even better the next day as the spices continue to meld. You can easily scale this One Pan Chicken Tikka up for a dinner party or down for a quiet night in. It is truly the ultimate versatile recipe for any home chef.
Ingredients You Will Need
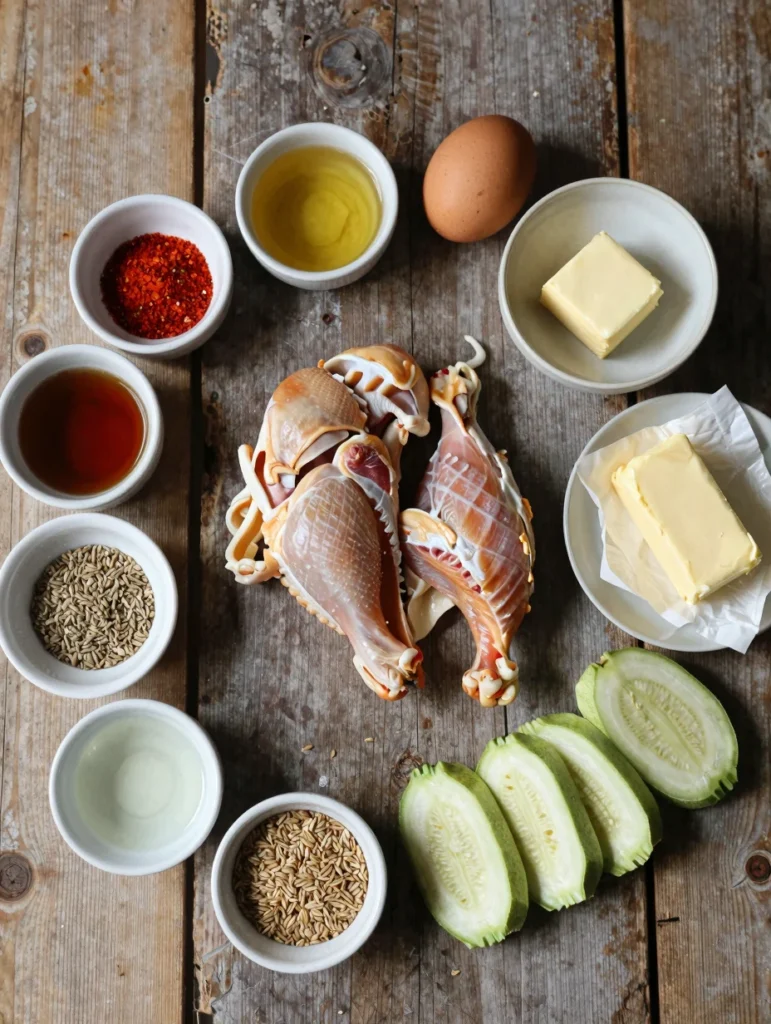
To create the perfect One Pan Chicken Tikka, you need a mix of fresh produce and pantry staples. We recommend using high-quality spices to ensure the boldest flavor profile. This One Pan Chicken Tikka relies on the harmony of acidic yogurt and warm spices to tenderize the meat. Here is everything you need to gather for your One Pan Chicken Tikka adventure.
| Ingredient | Quantity | Notes |
|---|---|---|
| Chicken Thighs (Boneless, Skinless) | 2 lbs | Cut into 1.5-inch bite-sized chunks. |
| Plain Greek Yogurt | 1 cup | Provides the base for the marinade. |
| Lemon Juice | 2 tbsp | Freshly squeezed is best for acidity. |
| Garlic Paste | 1.5 tbsp | Freshly minced or store-bought paste. |
| Ginger Paste | 1 tbsp | Adds a sharp, fresh zing. |
| Garam Masala | 2 tsp | A crucial spice blend for depth. |
| Turmeric Powder | 1 tsp | Gives the dish its iconic golden hue. |
| Smoked Paprika | 1.5 tsp | Provides a smoky flavor without a grill. |
| Cumin Powder | 1 tsp | Adds earthy, warm notes. |
| Red Onion | 1 large | Cut into thick wedges for roasting. |
| Bell Peppers | 2 large | Use mixed colors for visual appeal. |
| Vegetable Oil | 2 tbsp | Helps with the charring process. |
| Salt and Black Pepper | To taste | Adjust according to your preference. |
| Fresh Cilantro | 1/4 cup | Chopped for a fresh garnish. |
Substitutions & Variations
While we love the classic version of One Pan Chicken Tikka, you can easily adapt it to your needs. If you prefer a leaner option, use chicken breast instead of thighs. However, watch the cooking time closely to avoid drying out the meat.
For a vegetarian One Pan Chicken Tikka, swap the chicken for firm tofu or cauliflower florets. These plant-based options soak up the marinade beautifully. If you do not have Greek yogurt, sour cream works as a suitable substitute in a pinch.
You can also adjust the heat level of your One Pan Chicken Tikka by adding more or less cayenne pepper. Some people enjoy adding a splash of heavy cream at the end for a richer finish. Additionally, try adding different vegetables like zucchini or cherry tomatoes to the pan.
Each variation maintains the core spirit of the One Pan Chicken Tikka while offering a new experience. Luna often adds extra lime zest to her One Pan Chicken Tikka for a brighter citrus punch. No matter which variation you choose, the One Pan Chicken Tikka method remains consistent and reliable.
While we love the classic version of One Pan Chicken Tikka, you can easily adapt it to your needs. For a delicious twist, try our Greek Chicken Orzo Casserole for a fresh take on flavors.
Step-by-Step Instructions
Follow these simple steps to ensure your One Pan Chicken Tikka turns out perfectly every time. We have streamlined the process to maximize flavor while minimizing effort. Prepare to transform your kitchen into a fragrant sanctuary with this One Pan Chicken Tikka.
- Prepare the Marinade: In a large mixing bowl, combine the Greek yogurt, lemon juice, garlic paste, and ginger paste. Whisk in the garam masala, turmeric, smoked paprika, and cumin. This mixture forms the heart of your One Pan Chicken Tikka.
- Marinate the Chicken: Add the chicken chunks to the bowl. Ensure every piece has a thick coating of the spiced yogurt. For the best One Pan Chicken Tikka, let it sit for at least 30 minutes. If you have time, marinate it in the refrigerator for up to 4 hours.
- Prepare the Pan: Preheat your oven to 425 degrees Fahrenheit (220 degrees Celsius). Line a large sheet pan with parchment paper or foil for easy cleanup. Place your onion wedges and bell pepper strips onto the pan.
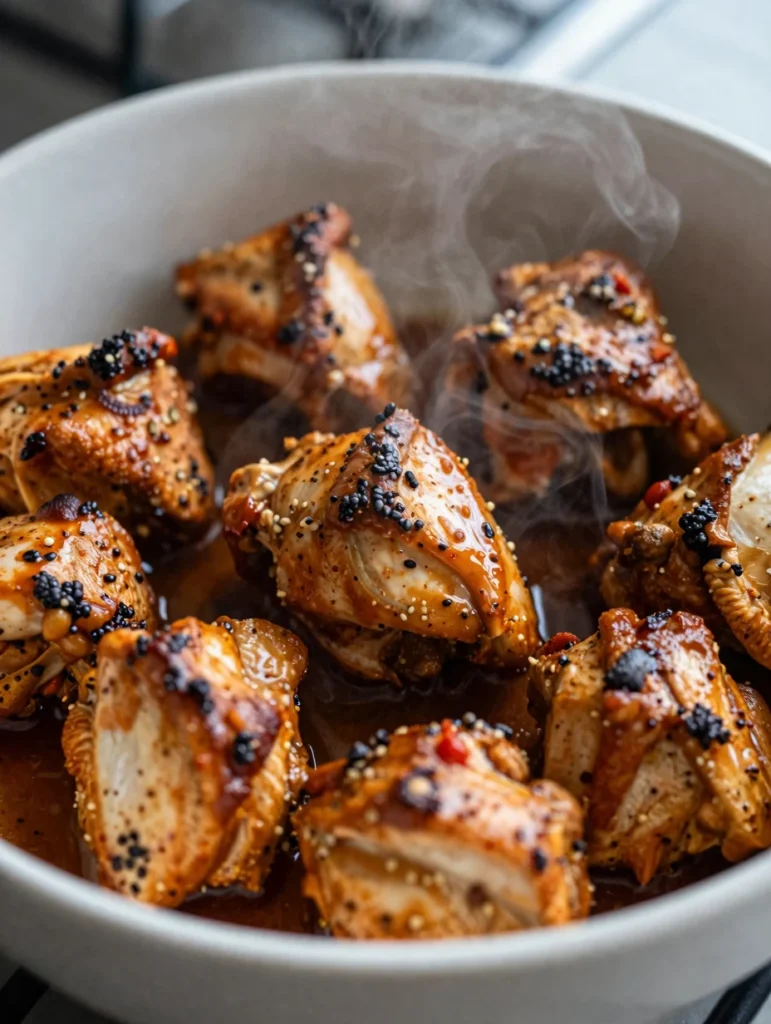
- Arrange the Ingredients: Move the marinated chicken pieces onto the pan. Spread them out so they do not touch. This allows the heat to circulate, creating the signature One Pan Chicken Tikka char. Drizzle the vegetables with oil and a sprinkle of salt.
- Roast to Perfection: Place the pan in the center rack of the oven. Bake for 20 to 25 minutes. At the halfway mark, toss the vegetables slightly. Ensure the chicken reaches an internal temperature of 165 degrees Fahrenheit.
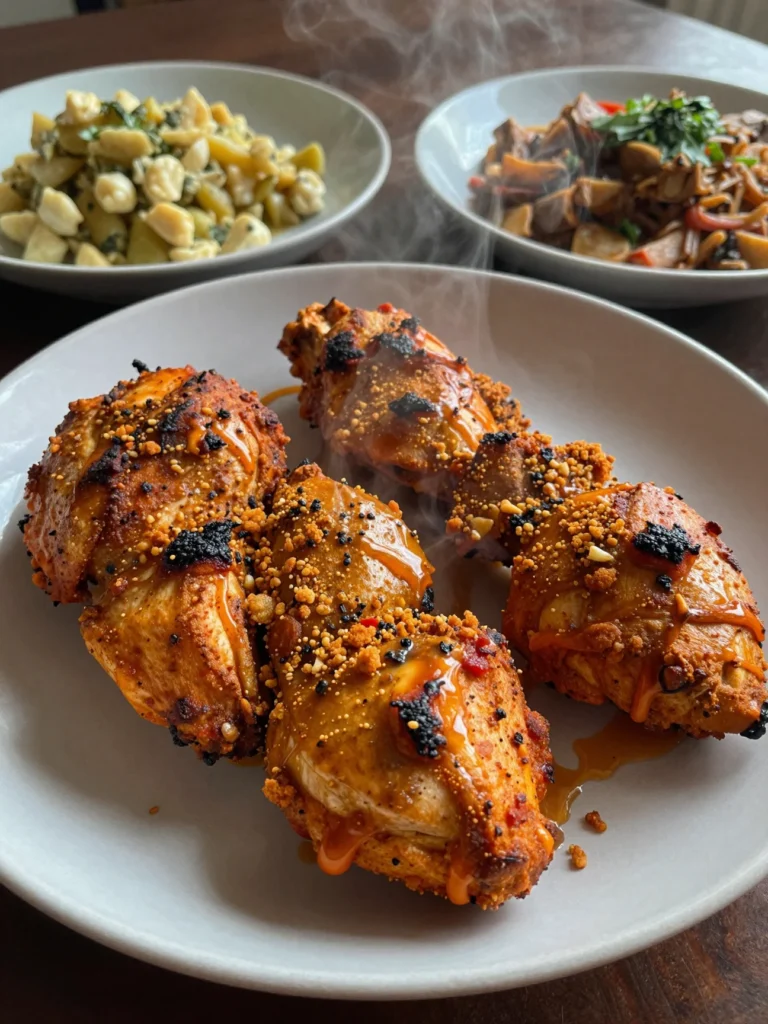
- Broil for Color: Turn the oven to the broil setting for the last 2 to 3 minutes. Watch closely! This step gives your One Pan Chicken Tikka those beautiful dark, crispy edges.
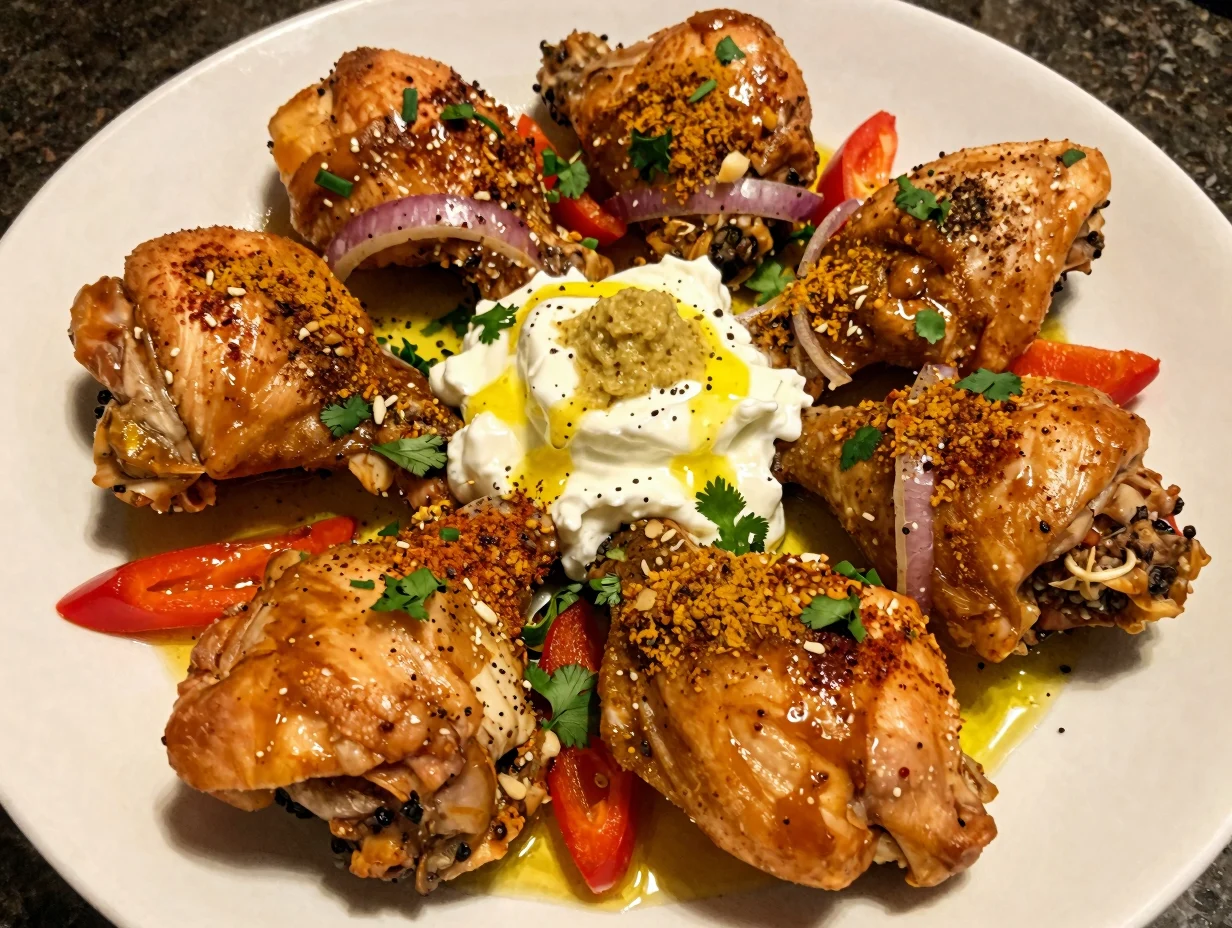
- Final Garnish: Remove the pan from the oven. Let the One Pan Chicken Tikka rest for 5 minutes. Sprinkle fresh cilantro and a squeeze of lime over the top before serving.
Pro Tips for Success
To elevate your One Pan Chicken Tikka from good to legendary, follow these expert tips. First, do not skip the marination step. The yogurt contains lactic acid which breaks down the proteins, making the One Pan Chicken Tikka incredibly tender.
Second, use a high-temperature oil like vegetable or grapeseed oil. These oils handle the roasting heat better than extra virgin olive oil. Third, avoid overcrowding the pan.
If the chicken pieces are too close, they will steam rather than roast. This ruins the texture of your One Pan Chicken Tikka. If necessary, use two pans instead of one.
Fourth, always pat your chicken dry before adding the marinade to ensure the yogurt sticks well. Fifth, use fresh ginger and garlic whenever possible. The pre-packaged versions often lack the sharp bite required for an authentic One Pan Chicken Tikka.
Finally, let the meat rest after cooking. This allows the juices to redistribute, ensuring every bite of your One Pan Chicken Tikka remains succulent. These small details make a massive difference in the final quality of your meal.
To elevate your One Pan Chicken Tikka from good to legendary, follow these expert tips. For more cooking inspiration, check out our Turkey Meatball Casserole that offers a unique flavor profile.
Storage & Reheating Tips
One of the best things about One Pan Chicken Tikka is how well it stores. You can easily prep this for your weekly meal plan. Simply place the cooled One Pan Chicken Tikka in an airtight container.
It will stay fresh in the refrigerator for up to 4 days. If you want to store it longer, this One Pan Chicken Tikka freezes beautifully. Place the cooked chicken and vegetables in a freezer-safe bag for up to 3 months.
When you are ready to eat, thaw the One Pan Chicken Tikka in the fridge overnight. To reheat, we suggest using the oven or a skillet. Microwave reheating can sometimes make the chicken rubbery.
Place the One Pan Chicken Tikka back on a pan at 350 degrees Fahrenheit for about 10 minutes. This restores the texture and brings the spices back to life. You might want to add a tiny splash of water or a dollop of yogurt to maintain moisture. Consequently, you can enjoy the delicious flavors of One Pan Chicken Tikka even on your busiest days.
What to Serve With This Recipe
While One Pan Chicken Tikka is a complete meal on its own, several sides can enhance the experience. Luna and I usually serve this One Pan Chicken Tikka with warm, buttery garlic naan. The bread is perfect for scooping up the extra spices and juices.
A side of fluffy Basmati rice also works wonders to balance the heat of the One Pan Chicken Tikka. For a refreshing contrast, create a quick cucumber raita. This cool yogurt-based dip cuts through the richness of the spices.
You could also serve the One Pan Chicken Tikka over a bed of fresh greens for a lighter, low-carb lunch. We often add a side of pickled red onions to provide a crunchy, acidic pop. If you want a full feast, consider making some lentil dal to accompany your One Pan Chicken Tikka.
The combination of textures and flavors will transport your dinner guests straight to a high-end Indian bistro. No matter what you choose, this One Pan Chicken Tikka remains the star of the show.
While One Pan Chicken Tikka is a complete meal on its own, several sides can enhance the experience. Consider pairing it with our Asparagus Ham Casserole for a delightful contrast.
FAQs
Can I use chicken breast for One Pan Chicken Tikka?
Yes, you can use chicken breast for this recipe. However, chicken breast dries out faster than thighs. We recommend cutting the breast into larger chunks to preserve moisture.
Also, reduce the baking time by 3 to 5 minutes. Keep a close eye on the internal temperature to ensure a juicy One Pan Chicken Tikka.
Is One Pan Chicken Tikka very spicy?
Our version of One Pan Chicken Tikka offers a medium level of spice. It provides warmth and depth without being overwhelming. If you prefer a milder version, reduce the amount of garam masala and skip the cayenne. If you love heat, feel free to add chopped green chilies to the marinade for a real kick.
How do I get charred edges on One Pan Chicken Tikka?
The secret to charred edges lies in the broiler. After the One Pan Chicken Tikka finishes roasting, switch your oven to the “broil” setting. Position the pan on the top rack.
Watch it carefully for 2 to 3 minutes. The high heat will caramelize the yogurt marinade and create those delicious dark spots.
Can I make One Pan Chicken Tikka ahead of time?
Absolutely! You can marinate the chicken up to 24 hours in advance. This actually improves the flavor of the One Pan Chicken Tikka as the spices penetrate deeper into the meat.
You can also cook the entire dish and reheat it later. It is a fantastic option for meal prepping or busy weeknight dinners.
What vegetables go well with One Pan Chicken Tikka?
We typically use bell peppers and red onions for our One Pan Chicken Tikka. However, cauliflower, broccoli, and snap peas also work exceptionally well. Just ensure you cut the vegetables into sizes that cook at the same rate as the chicken. Harder vegetables like carrots might need a head start in the oven.
One Pan Chicken Tikka is a simplified version of the traditional Indian dish, allowing home cooks to enjoy its rich flavors without the need for special equipment. This dish showcases the essence of Indian cuisine, making it a popular choice for those seeking a quick yet flavorful meal, as detailed in Indian cuisine.
Nutrition Information (per serving)
This One Pan Chicken Tikka is not only delicious but also quite nutritious. It provides a high amount of protein and healthy fats from the yogurt. By using fresh spices, you get an antioxidant boost without the need for excessive salt or sugar. Here is the approximate breakdown for one serving of our One Pan Chicken Tikka.
| Metric | Amount per Serving |
|---|---|
| Calories | 320 kcal |
| Protein | 38g |
| Total Fat | 12g |
| Saturated Fat | 3g |
| Carbohydrates | 14g |
| Fiber | 3g |
| Sugars | 6g |
| Sodium | 580mg |
We hope you enjoy this One Pan Chicken Tikka as much as Henry and Luna do! It is a testament to the fact that home cooking can be both simple and spectacular. By keeping everything on a single pan, you save time and energy.
Consequently, you can focus on what really matters – enjoying a beautiful meal with the people you love. Please let us know how your One Pan Chicken Tikka turns out. We love hearing from our community at Casserolet.com. Happy cooking!
One Pan Chicken Tikka
Ingredients
Method
- Prepare the Marinade: In a large mixing bowl, combine the Greek yogurt, lemon juice, garlic paste, and ginger paste. Whisk in the garam masala, turmeric, smoked paprika, and cumin.
- Marinate the Chicken: Add the chicken chunks to the bowl, ensuring every piece is coated. Let it sit for at least 30 minutes or up to 4 hours in the refrigerator.
- Prepare the Pan: Preheat your oven to 425°F (220°C). Line a large sheet pan with parchment paper or foil. Place onion wedges and bell pepper strips onto the pan.
- Arrange the Ingredients: Move the marinated chicken pieces onto the pan, spreading them out. Drizzle the vegetables with oil and sprinkle with salt.
- Roast to Perfection: Bake for 20 to 25 minutes, tossing the vegetables halfway through. Ensure the chicken reaches an internal temperature of 165°F.
- Broil for Color: Switch to broil for the last 2 to 3 minutes to achieve crispy edges.
- Final Garnish: Let the dish rest for 5 minutes, then sprinkle with fresh cilantro and a squeeze of lime before serving.